
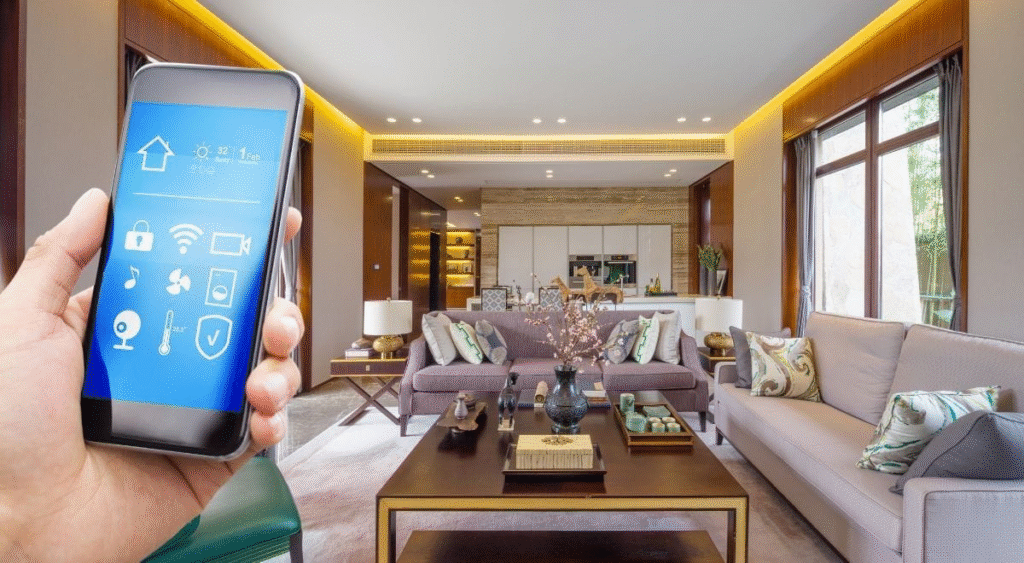
Let’s be real for a minute. Half of what gets written about smart home tech reads like a late-night infomercial or a scene out of a sci-fi movie. Glossy design magazines love showing off multi-million-dollar mansions where glass walls tint at the touch of a button, custom touchscreens are set right into marble counters, and motorized blinds slide up in dead silence.
It’s easy to look at stuff like that and think, “Yeah, that looks awesome, but I’m not made of money, and I definitely don’t want to rip my drywall open to pull wires.”
Here’s the plain truth: you don’t need thousands of dollars, an electrical engineering degree, or a massive renovation to automate your home.
Real-life home automation isn’t about showing off to your neighbors or buying gadgets just to feel tech-savvy. It’s about taking care of those small, daily annoyances that waste your time and inflate your power bill. It’s about knowing your front porch is secure when a package drops, turning off every light in the house without crawling out of bed, and setting up your living space so it just runs smoothly in the background.
If you want a home that works a little harder for you without draining your bank account, this is how you make it happen without overspending.
Figure Out a Strategy So You Don’t Waste Money
The absolute easiest way to blow your budget is walking into a big-box store or scrolling through online sales without a concrete plan. Before you know it, you’ve bought four different brands of smart bulbs, downloaded three different control apps, and ended up with a bunch of fancy features you’ll never actually use.
To keep your wallet safe, stick to a few simple rules before buying anything:
- Start with the “Anchor Room”: Don’t try to upgrade your whole house at once. Pick the one room where you spend most of your waking hours—usually the main living room or your bedroom. Automating the lights and appliances in just one high-traffic space gives you almost all the daily convenience at a tiny fraction of the cost.
- Spend in Small, Planned Phases: Give yourself a strict spending limit for your first round—say, $50 to $75. Buy two or three basic items, set them up, and use them for a couple of weeks. Once you figure out what actually makes your morning or evening easier, you can think about Phase 2.
- Watch Out for Sneaky Subscription Fees: A $25 security camera isn’t a good deal if it forces you to pay $5 every month just to watch video clips from yesterday. Always read the fine print on the box. Look for gear that lets you pop in a cheap microSD card for local video storage, or offers a solid free tier for basic motion clips.
- Wait for the Big Sales: Almost all basic smart gear goes on heavy discount throughout the year. Never pay full retail price if you can help it. Keep an eye out for major shopping events or bundle deals—like a budget smart speaker packaged with a free smart bulb or plug.
Low-Cost Gear That Gives You the Best Bang for Your Buck
You don’t need top-shelf luxury brands to get fast, dependable performance. A few affordable product categories deliver huge value without the crazy markups:
- Smart Plugs ($7 – $15): These are, hands down, the best starting point for any budget setup. Plugging a regular floor lamp, a desk fan, or your morning coffee pot into a plug from brands like TP-Link Kasa, Tapo, or Wyze instantly turns an old-school appliance into something you can control from your phone or schedule automatically.
- Smart Bulbs & Dimmers ($8 – $15): Instead of swapping out expensive light fixtures, grab a couple of adjustable-white bulbs from brands like Wyze or Philips Smart LED (Wiz). If you feel comfortable swapping out a wall switch, modular options like Goldmedal’s touch panels or smart switches let you control a whole cluster of ceiling lights at once for way less money.
- Compact Indoor Cameras ($20 – $35): Desktop cameras like the Wyze Cam or Blink Mini give you sharp 1080p video, night vision, and motion alerts on your phone for a fraction of what traditional home security companies charge.
- Video Doorbells & Retrofit Locks ($30 – $80): Wired video doorbells mean you never have to worry about pulling them down to recharge batteries. For locks, retrofit options like the August Smart Lock or Wyze Lock mount right over your existing interior deadbolt, which means your original house keys still work completely fine.
- Entry-Level Smart Thermostats ($60 – $100): You don’t need a $250 learning thermostat. Basic options like the Wyze Thermostat or the base-model Google Nest give you all the important stuff: eco-schedules, phone controls, and automatic energy savings when you leave the house.
How to Make Your Smart Gear Pay for Itself
Smart tech shouldn’t just be a fun toy—when you set it up right, it actively trims down your monthly utility bills.
- Cut Off “Vampire” Power Draws: TV setups, gaming consoles, microwave displays, and chargers pull electricity constantly, even when they’re turned completely off. Plugging your whole media center into a scheduled smart plug that cuts power off between 11 PM and 6 AM stops that silent energy drain dead in its tracks.
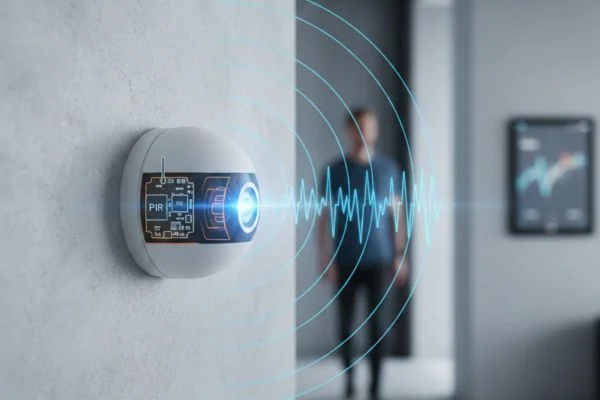
- Put Motion Sensors in Forgettable Spots: Stick inexpensive, battery-powered motion sensors ($10 to $15) in places like hallways, pantries, or guest bathrooms. Program them to turn lights off after two minutes of zero movement so lights never stay on in empty rooms.
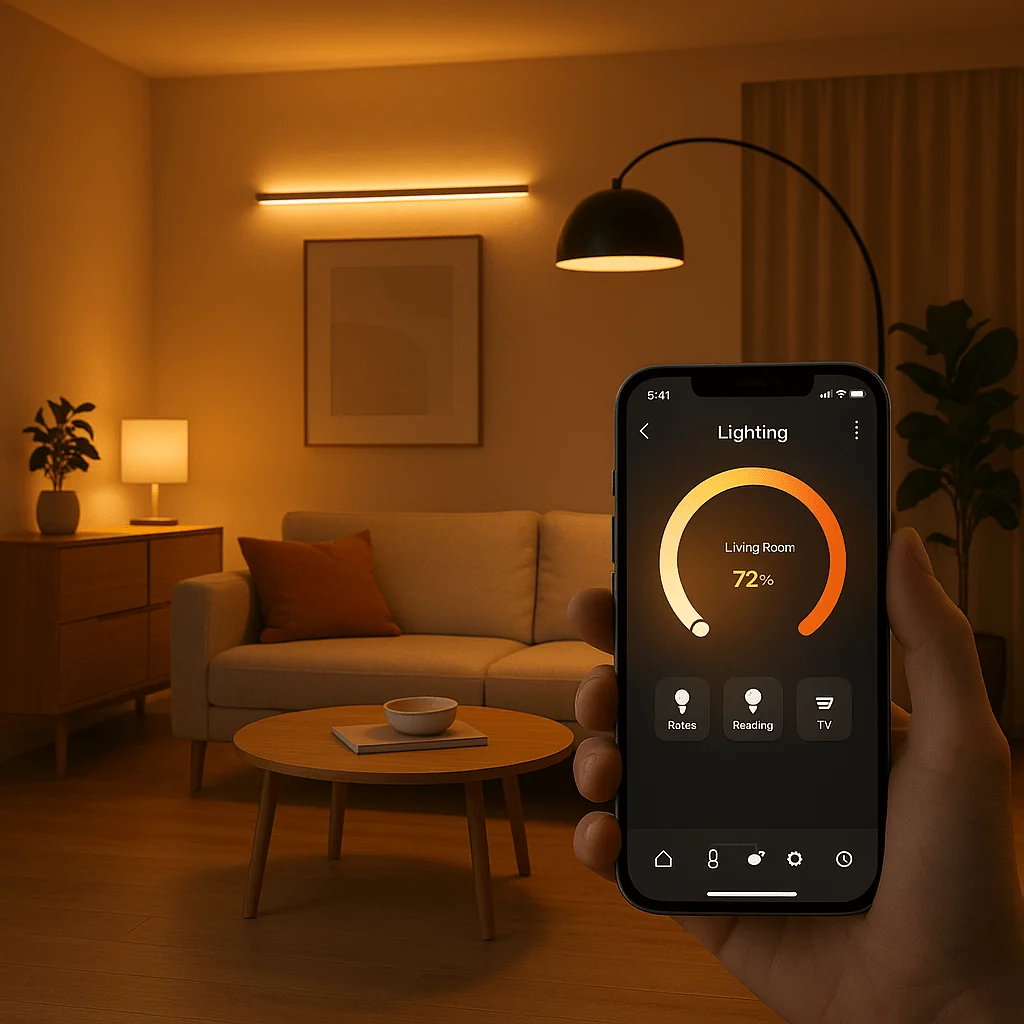
- Run Your Lights at 75% Brightness: Use dimmable smart bulbs or wall panels to cap your daily lighting at 75% or 80% brightness. Your eyes won’t even notice the difference in warmth or light, but your electric meter definitely will over a few months.
- Set Up HVAC “Away” Modes: Program a budget thermostat to adjust your heating or cooling by 3 to 5 degrees whenever the house is empty during work hours. Have it ease back to your favorite temperature about 15 minutes before you usually walk through the door.
Step 4: DIY Setup vs. Paying Someone to Install It

Installation fees can kill a tight budget fast. To keep your total costs as low as possible, stick to gear you can set up yourself without hiring outside help.
- Plug-and-Play Gear (Zero Tools Needed): Smart plugs, tabletop security cameras, battery-powered doorbells, door sensors, and smart speakers require zero technical skill. You literally plug them into the wall, download the official app on your phone, and hook them up to your home Wi-Fi.
- When DIY Works for Wall Switches: Swapping an old wall switch or adding a modular touch panel just takes a little basic care—turning off the main power at the breaker box and double-checking the wires with a cheap voltage tester. It’s a simple 15-minute job that saves you an expensive electrician visit.
- When It Makes Sense to Call a Pro: If your home has really old wiring without a neutral wire, or if you feel genuinely nervous working near an open breaker box, paying a professional for an hour of work is well worth the safety and peace of mind.
Step 5: Pick One Central App to Keep Things Simple
One of the biggest mistakes people make when getting started is buying random devices from five or six different brands. Before you know it, your phone is cluttered with apps, and nothing works together smoothly.
To build a clean system that doesn’t drive you crazy:
- Pick One Main Platform: Choose either Amazon Alexa or Google Home as your main hub. Both companion apps are completely free, super easy to navigate, and work with almost every budget device on the market today.
- Add One Affordable Smart Speaker: Placing a compact smart speaker (like an Echo Dot or Nest Mini) in your living room gives everyone in the house a simple way to control devices with quick voice commands—no need to pull out a phone.
- Stick with a 2.4 GHz Wi-Fi Connection: Most budget smart devices run on the 2.4 GHz Wi-Fi band because that signal travels through walls and furniture much better than 5 GHz bands. Keep all your smart gear on that same 2.4 GHz network so they stay connected reliably.
- Build Simple Routines: Link a bunch of actions together under a single phrase. For instance, saying “Goodnight” can turn off all the living room lamps, power down your connected TV plugs, and set the thermostat to a cool sleeping temperature all at once.
- Keep an Eye Out for the “Matter” Logo: When you’re out shopping for new gear, look for the Matter logo on the packaging. Matter is a new industry standard that lets devices from different brands communicate directly with each other, meaning your setup won’t go obsolete if you change phone brands down the line.
Step 6: Fixing Small Glitches Without Calling Tech Support
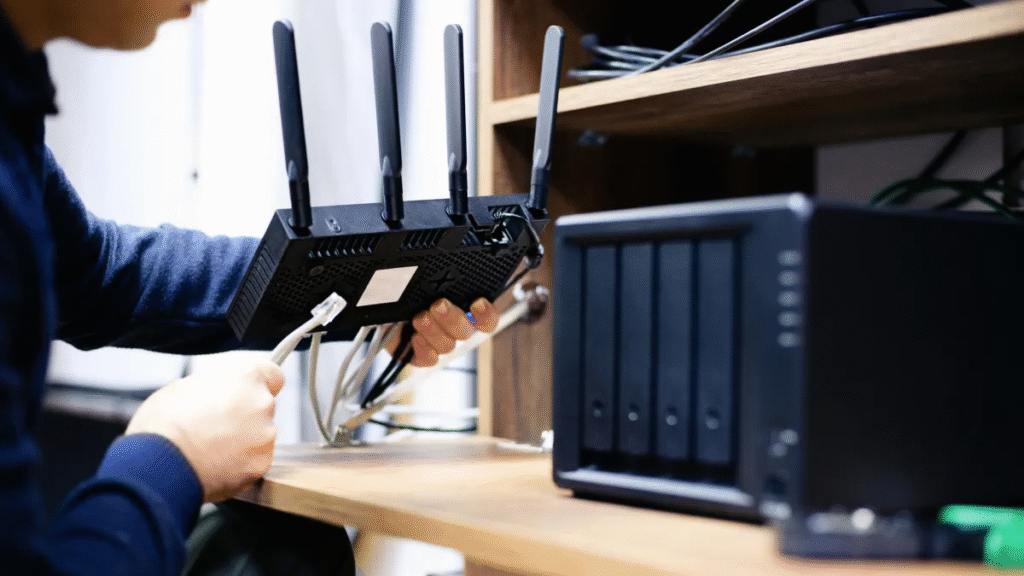
When a budget smart plug or camera drops off the network or acts up, you can almost always fix it in about sixty seconds without paying a dime for support:
- Try the Quick Power Cycle: Unplug your Wi-Fi router for 30 seconds, then plug it back in. If it’s just one specific device acting stubborn, unplug the device itself for 10 seconds to force it to reconnect to your network.
- Fix Weak Signal Spots: If an outdoor camera or driveway plug keeps losing connection, it’s probably just a little too far from your router. Moving your router slightly higher off the floor or plugging in an inexpensive Wi-Fi range extender usually solves signal drops right away.
- Let Software Updates Run: Turn on automatic updates inside your device apps. Manufacturers regularly push out small over-the-air updates that fix minor performance bugs and keep your devices secure.
At the end of the day, building a great smart home isn’t about spending a fortune or trying to impress anyone. It’s about making your home work a little bit smoother for your daily life, saving a few bucks on your power bill, and taking the hassle out of the small stuff—all on a budget that makes sense for you.